I’ve spent countless hours tinkering in my garage, turning my old sedan into a space that feels like a second home. There’s something special about stepping into a car with an interior that reflects your personality, whether you’re a daily commuter, a weekend warrior, or a DIY mechanic like me. If you’re wondering how to spice up your car interior, you’re in the right place.
I’m here to share practical, hands-on tips to transform your ride into something that’s both functional and stylish, no matter your budget or skill level. From custom seat covers to ambient lighting, these upgrades will make your car feel fresh and uniquely yours, all while keeping it practical for US roads and driving habits. Let’s dive into the details, with step-by-step advice, real-world examples, and a few lessons I’ve learned from my own projects.

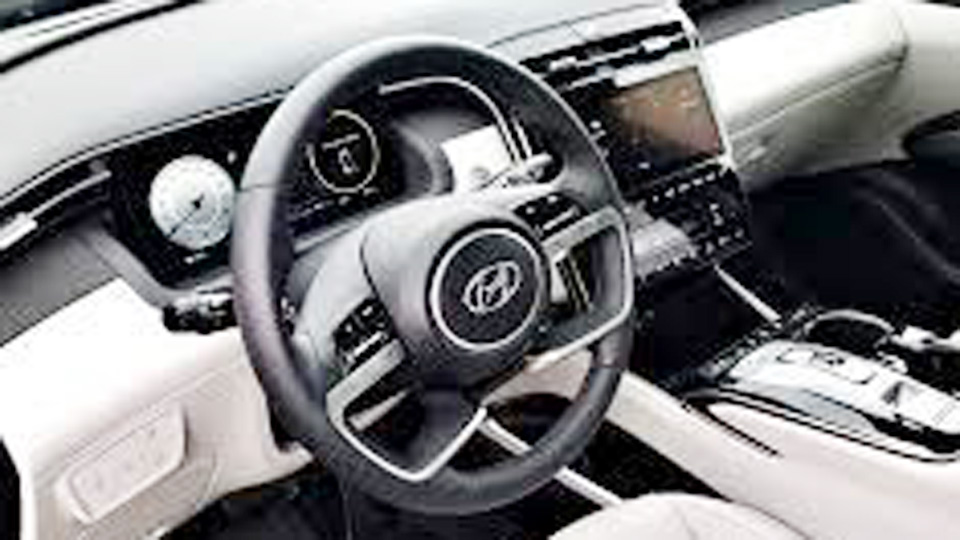
Photo by driving.ca
Why Upgrading Your Car Interior Matters
Your car’s interior isn’t just about aesthetics—it’s about comfort, functionality, and pride. A well-maintained or customized interior can make long commutes bearable, impress your passengers, and even boost your car’s resale value. I remember the first time I swapped out my worn-out factory floor mats for custom-fit ones; it was like giving my car a new lease on life. For car enthusiasts, it’s a chance to express your style.
For DIY mechanics, it’s a fun project that doesn’t require a full engine overhaul. And for everyday drivers, a spruced-up interior can make every trip more enjoyable, whether you’re stuck in LA traffic or cruising rural highways.
Upgrades also protect your car. Quality seat covers or floor liners can shield your interior from spills, pet hair, or muddy boots—common issues for US drivers dealing with varied climates. Plus, small tweaks like organizers or lighting can make your car more practical for daily use. Let’s explore some of the best ways to level up your interior, starting with the basics.
Refresh Your Seats with Covers or Reupholstery
Seats are the heart of your car’s interior. They’re where you spend most of your time, and worn-out or boring seats can drag down the whole vibe. I’ve tried both seat covers and reupholstery, and each has its place depending on your budget and goals.
Seat Covers: Affordable and Easy
Seat covers are a quick, budget-friendly way to refresh your interior. They come in countless materials—neoprene, leatherette, canvas—and designs to match your style, from sleek and modern to rugged and outdoorsy. I put neoprene covers on my truck a few years back, and they’ve held up through muddy hikes and spilled coffee.
Why They Work: Seat covers protect your original upholstery from wear, UV damage, and stains, which is a lifesaver in sunny states like Arizona or rainy ones like Washington. They’re also easy to install, typically taking 20-30 minutes with no tools beyond your hands.
How to Choose:
Material: Neoprene is durable and water-resistant, great for families or off-roaders. Leatherette looks upscale but can get hot in summer. Canvas is tough and budget-friendly.
Fit: Universal covers are cheaper but may sag. Custom-fit covers (like those from Covercraft or WeatherTech) hug your seats perfectly but cost more.
Style: Pick colors or patterns that vibe with your car’s look. I went with black neoprene for a clean, rugged aesthetic.
Step-by-Step Installation:
- Vacuum your seats to remove dirt.
- Slide the cover over the seat, starting at the top and pulling down.
- Secure straps or hooks under the seat (watch for sharp edges that could tear).
- Adjust for a snug fit, tucking excess fabric into crevices.
- Repeat for all seats.
Pros: Affordable (starting at $30 per seat), removable, washable.
Cons: Universal covers may not fit perfectly; cheap materials wear out fast.
Reupholstery: A Premium Upgrade
If you’re committed to a high-end look, reupholstering your seats is the way to go. I helped a buddy reupholster his Mustang’s seats with leather, and the transformation was jaw-dropping. It’s pricier ($500-$2,000 depending on the car and material) and requires more skill, but the results are showroom-worthy.
Why It Works: Reupholstery lets you completely customize your seats—think leather, Alcantara, or even custom stitching. It’s ideal for older cars or classics where seat covers won’t cut it.
When to Consider: If your seats are torn, faded, or you’re restoring a vintage ride, reupholstery is worth the investment. It’s also great for enthusiasts who want a bespoke look.
Pro Tip: Unless you’re experienced, leave this to a professional. I tried DIY reupholstery once and ended up with uneven seams—lesson learned!
Warning: Don’t skimp on materials. Cheap leather cracks in cold climates like Minnesota or hot ones like Texas.
Upgrade Your Floor Mats for Style and Protection
Floor mats are one of the easiest ways to spice up your car interior while adding practicality. I swapped out my old, stained mats for WeatherTech liners, and they’ve saved my car from muddy boots and spilled drinks countless times.
Why They Work: Good floor mats protect your car’s carpet from dirt, water, and wear, especially in regions with snow, rain, or dust. They’re also a style statement—think bold colors or custom logos.
Types of Mats:
- All-Weather Mats: Rubber or vinyl (e.g., WeatherTech, Husky Liners) are durable and easy to clean. Perfect for families or off-roaders.
- Carpet Mats: Softer and plusher, these are great for a luxury feel but stain easily.
- Custom Mats: Brands like Lloyd Mats offer personalized options with logos or embroidery.
How to Choose:
- Go for custom-fit mats for your car model to ensure full coverage.
- Consider your climate—rubber mats for wet or snowy areas, carpet for milder regions.
- Check for non-slip backing to prevent sliding under pedals (a safety must).
Installation: Just remove old mats, vacuum the floor, and lay the new ones in place. Most take under 5 minutes.
Pros: Affordable ($50-$150), easy to install, protects resale value.
Cons: Universal mats may not fit well; carpet mats require frequent cleaning.
Real-World Example: A friend in Colorado uses all-weather mats year-round to handle snow and mud from ski trips. They’ve kept his Subaru’s interior pristine.
Add Ambient Lighting for a Modern Vibe
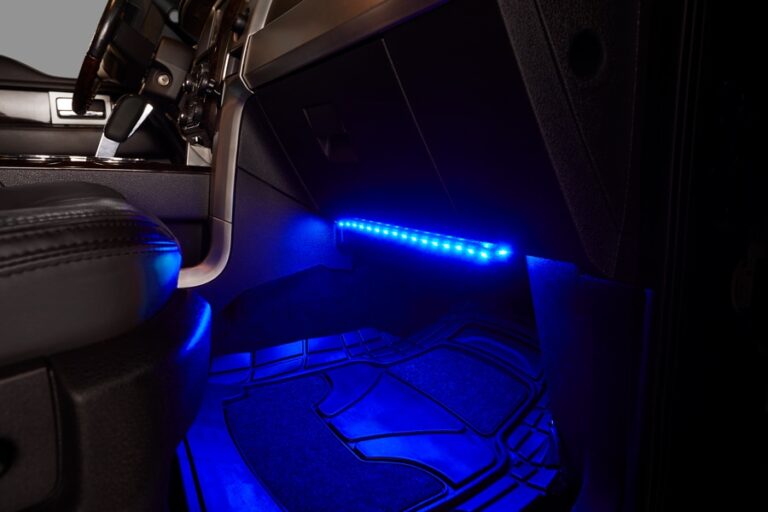
Ambient lighting is a game-changer for spicing up your car interior. I installed LED strips in my sedan’s footwells, and it feels like a spaceship at night. It’s a subtle upgrade that adds a premium, modern touch without breaking the bank.
Why It Works: Lighting sets the mood and makes nighttime driving more enjoyable. It’s also functional, helping you find dropped items or navigate controls in the dark.
Types of Lighting:
- LED Strips: Affordable, easy to install, and available in multiple colors or color-changing options.
- Footwell Lights: Pre-installed kits for specific car models.
- Accent Lights: Small LEDs for cupholders, door handles, or dashboards.
Step-by-Step Installation:
- Choose a kit (I like Govee or OPT7 for plug-and-play options).
- Clean the installation area (e.g., under seats or dashboard).
- Stick LED strips using adhesive backing or clips.
- Route wires to a power source (usually the 12V outlet or fuse box).
- Test and adjust brightness or colors via a remote or app.
Cost: $20-$100 for DIY kits. Professional installation can run $200+.
Pros: Affordable, customizable, easy to install.
Cons: Cheap kits may flicker or fail; improper wiring can drain your battery.
Warning: Don’t place lights where they distract you while driving, like directly in your line of sight. Check local laws—some states restrict certain colors (e.g., blue or red).
Real-World Example: I helped a friend install ambient lighting in her Honda Civic. She chose soft white for a clean look, and it’s been a hit with her passengers.
Organize Your Interior for Function and Style
A cluttered car interior kills the vibe. I used to toss tools, snacks, and cables in my backseat until I invested in organizers. Now, everything has a place, and my car feels twice as spacious.
Why It Works: Organizers keep your car tidy and make essentials like phone chargers or emergency kits easy to access. They also prevent distractions from loose items rolling around.
Top Organizer Options:
- Trunk Organizers: Collapsible bins for groceries, tools, or sports gear.
- Seat-Back Organizers: Great for families, with pockets for tablets, snacks, or kids’ toys.
- Console Organizers: Small trays for coins, keys, or sunglasses.
- Visor Organizers: Store registration, sunglasses, or pens.
How to Choose:
- Measure your space—trunk organizers vary widely in size.
- Look for durable materials like Oxford cloth or reinforced plastic.
- Prioritize versatility—foldable or adjustable organizers adapt to your needs.
Pros: Affordable ($10-$50), easy to install, maximizes space.
Cons: Cheap organizers rip easily; overstuffing looks messy.
Real-World Example: My neighbor, a mom of two, swears by her seat-back organizer. It keeps her minivan’s interior sane during school runs and road trips.
Upgrade Your Steering Wheel Cover or Wrap
A steering wheel cover is a small change with a big impact. I added a leather wrap to my truck’s wheel, and it feels grippier and looks sharper than the factory plastic.
Why It Works: A good cover improves grip, comfort, and style. It also protects your wheel from wear, especially in hot climates where UV rays can crack plastic.
Types of Covers:
- Leather: Premium look, durable, comfortable.
- Microfiber: Soft, affordable, great for cold climates.
- Silicone: Cheap, grippy, but less stylish.
Installation:
- Clean your steering wheel with rubbing alcohol.
- Stretch the cover over the wheel, starting at the top.
- Work it around, pulling tightly for a snug fit.
- For stitch-on wraps, use a needle and thread (takes 1-2 hours).
Cost: $15-$50 for covers; $100+ for custom wraps.
Pros: Easy to install, affordable, improves grip.
Cons: Cheap covers slip or wear out; stitch-on wraps require patience.
Warning: Ensure the cover doesn’t interfere with airbag deployment. Avoid overly thick covers on modern cars with thin wheels.
Add Tech Upgrades for Convenience
Tech upgrades can make your car interior feel futuristic without a full overhaul. I added a wireless charger to my center console, and it’s been a game-changer for keeping my phone juiced on long drives.
Top Tech Upgrades:
- Wireless Charging Pads: Fit in your console or mount on the dash.
- Touchscreen Protectors: For infotainment systems, these reduce glare and scratches.
- USB Hubs: Add extra ports for charging or connecting devices.
- Dash Cams: Compact and useful for safety (I use a Vantrue N2 for peace of mind).
Why They Work: These upgrades add convenience and keep your car functional for modern needs, like staying connected or recording road incidents.
Installation Tips:
- Choose plug-and-play devices to avoid wiring hassles.
- Mount chargers or cams securely to avoid vibrations on bumpy US roads.
- Test compatibility with your car’s infotainment system.
Pros: Affordable ($20-$150), easy to install, practical.
Cons: Cheap devices may fail; cluttered wiring looks messy.
Real-World Example: A friend in Texas added a dash cam after a fender-bender. It’s saved him headaches with insurance claims.
Personalize with Custom Accents
Small accents can make your car interior feel uniquely yours. I swapped out my gear shift knob for a weighted aluminum one, and it’s both functional and a conversation starter.
Ideas for Accents:
- Gear Shift Knobs: Metal, wood, or custom designs.
- Pedal Covers: Aluminum or rubber for a sporty look.
- Decals or Trim: Carbon fiber or chrome accents for dashboards or vents.
- Keychains: Match your car’s vibe with a leather or metal fob.
Why They Work: Accents are affordable and let you express your personality without major changes. They’re also easy to reverse if you sell your car.
Pros: Cheap ($10-$50), quick to install, highly customizable.
Cons: Overdoing it can look tacky; ensure secure installation to avoid rattles.
Warning: Avoid accents that obstruct controls or distract while driving.
Maintain Your Interior for Long-Term Appeal
A spiced-up interior only stays nice with regular care. I learned this the hard way after neglecting my car’s dashboard, which faded under the California sun.
Maintenance Tips:
- Vacuum Weekly: Removes dirt and prevents carpet wear.
- Use UV Protectant: Products like 303 Aerospace Protectant shield dashboards and seats from sun damage.
- Clean Spills Immediately: Prevents stains, especially on fabric seats.
- Condition Leather: Use a conditioner every 3-6 months to prevent cracking.
Why It Works: Regular maintenance keeps your upgrades looking fresh and protects your investment, especially in harsh US climates.
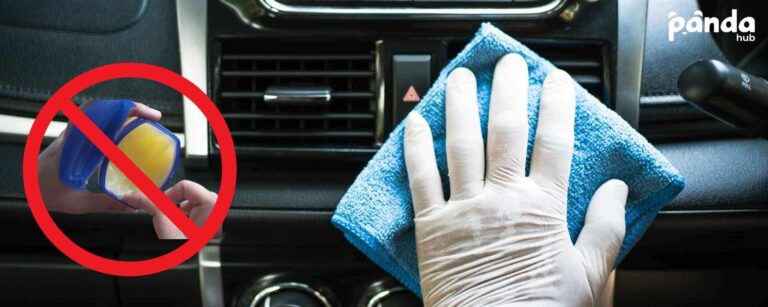
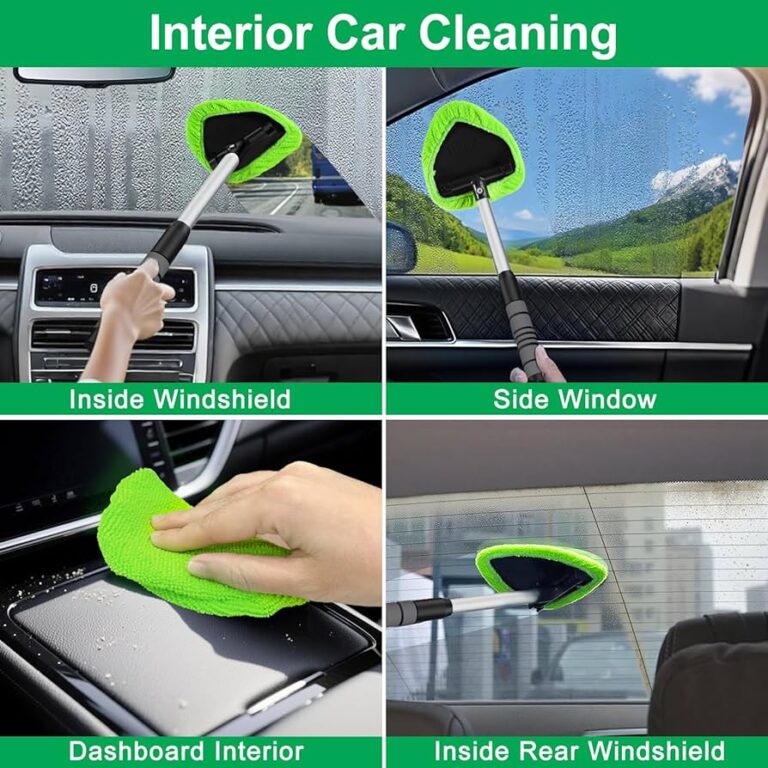
Pro Tip: Keep a small cleaning kit in your trunk—microfiber cloths, a brush, and all-purpose cleaner—for quick touch-ups.
Comparison Chart: Popular Interior Upgrades
| Upgrade | Cost | Installation Time | Durability | Best For |
|---|---|---|---|---|
| Seat Covers | $30-$200 | 20-30 min | 1-5 years | Budget-conscious, families |
| Floor Mats | $50-$150 | 5 min | 3-7 years | All drivers, off-roaders |
| Ambient Lighting | $20-$100 | 30-60 min | 2-5 years | Enthusiasts, night drivers |
| Organizers | $10-$50 | 5-10 min | 1-3 years | Families, commuters |
| Steering Wheel Cover | $15-$50 | 10-20 min | 1-3 years | Daily drivers, enthusiasts |
Conclusion
Spicing up your car interior is about more than just looks—it’s about making your ride a reflection of you while keeping it practical for the road. Whether you’re adding seat covers for protection, ambient lighting for a modern vibe, or organizers to tame the chaos, each upgrade brings a little joy to your daily drive.
Start small with something like floor mats or a steering wheel cover, and build from there as your budget and confidence grow. My biggest tip? Take your time and choose quality materials that’ll last through US weather and roads. You’ll thank yourself every time you slide into your car and feel that spark of pride.
FAQ
How can I make my car interior look luxurious on a budget?
Focus on affordable upgrades like leatherette seat covers, a sleek steering wheel wrap, and subtle ambient lighting. Clean and condition your dashboard regularly to keep it shiny. These small changes can mimic a high-end look for under $100.
Are custom seat covers worth the cost?
Yes, if you want a perfect fit and long-term durability. Custom covers (like Covercraft) cost more ($100-$200) but protect better and look seamless compared to universal ones ($30-$50).
How do I clean my car’s interior without damaging it?
Use a vacuum for carpets, a damp microfiber cloth for surfaces, and a mild all-purpose cleaner. For leather, use a dedicated conditioner. Avoid harsh chemicals like bleach, which can fade or crack materials.
Can I install ambient lighting myself?
Absolutely! DIY LED kits are plug-and-play and take 30-60 minutes. Just follow the instructions, secure wires neatly, and avoid placing lights where they distract you while driving.
What’s the easiest way to keep my car interior organized?
Start with a trunk organizer and a console tray. They’re cheap ($10-$30), take minutes to install, and keep essentials like tools, snacks, or cables in check.


