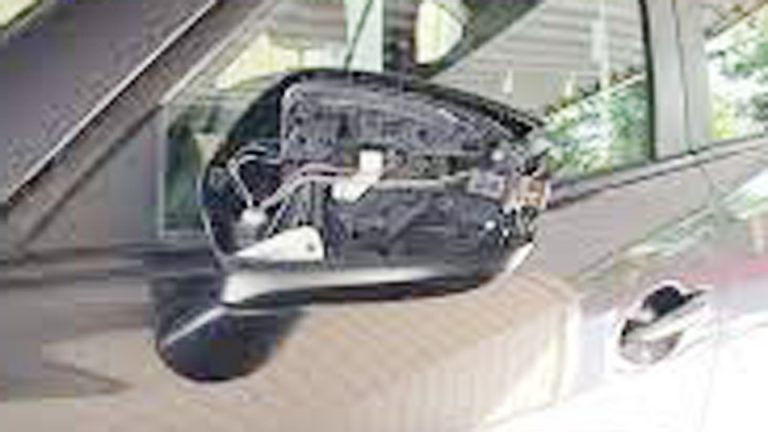
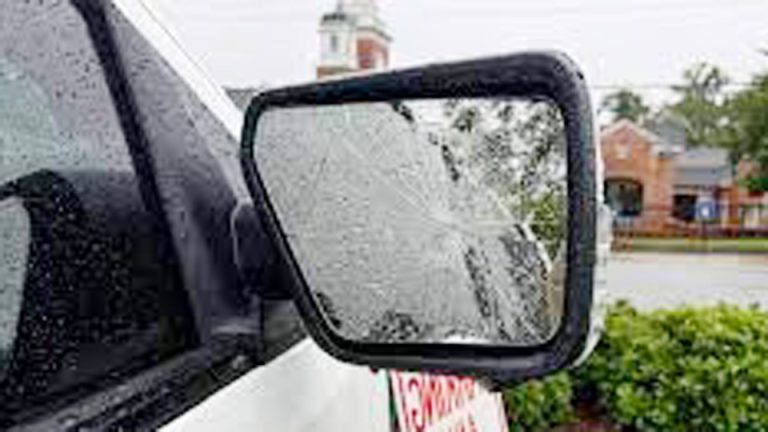
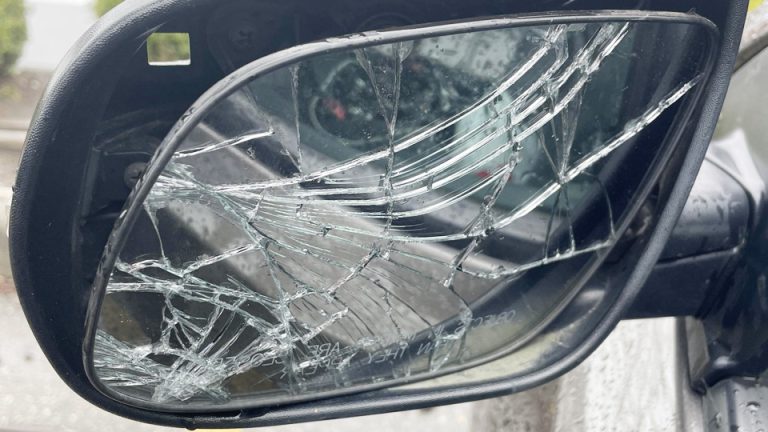
One repair I see many DIY car owners worry about is dealing with a damaged or loose side mirror. The glass itself is fragile, and the last thing you want is to crack it while trying to fix or replace it. If you’ve been searching How to Remove Side Mirror Glass Without Breaking, the key is patience and using the right approach. Side mirrors are usually clipped or lightly glued into place, and forcing them out the wrong way almost always leads to a broken mirror—or worse, a cut hand.
I’ve swapped out dozens of these in the shop, and I’ve learned that with a trim tool, a little heat, and the right angle, you can safely pop the glass free without damage. It’s one of those jobs that looks intimidating, but once you know the trick, it’s actually pretty straightforward.
Image by thetrackahead
Why Side Mirror Glass Matters for Safety and Savings
What Is Side Mirror Glass and What Does It Do?
Side mirror glass is the reflective surface in your vehicle’s side mirror assembly, mounted on the driver or passenger side. It’s typically convex to give you a wider field of view, helping you spot cars, cyclists, or obstacles in your blind spots. Some mirrors have added features like heating elements, auto-dimming, or integrated turn signals, especially in newer models like the Ford F-150 or Toyota Camry.
The glass is usually clipped, glued, or screwed into a plastic or metal backing plate, which fits into the mirror housing. This setup allows the glass to be replaced independently of the housing or motor, saving you from buying a whole new assembly.
Why It Matters
A clear, functional side mirror is non-negotiable for safe driving. In the U.S., federal regulations (FMVSS 111) require side mirrors on both sides of passenger vehicles for safety. A cracked, cloudy, or missing mirror glass reduces your visibility, making lane changes or parking riskier. I once had a customer in my shop—a guy with a 2015 Honda Civic—who didn’t realize how much he relied on his passenger-side mirror until it cracked. He nearly sideswiped a car merging onto the highway. Replacing the glass fixed the issue for under $50, compared to $200 for a new assembly.
Beyond safety, replacing the glass yourself can save you big. Dealerships and repair shops often charge $100–$300 for labor and parts, but a replacement glass typically costs $15–$60, depending on the vehicle and whether you go OEM or aftermarket.
Common Problems and Signs of Failure
Side mirror glass can fail in several ways:
- Cracks or Shattering: Often from impacts like parking lot dings or debris on the highway.
- Cloudiness or Fading: UV exposure or moisture ingress can fog up the reflective coating.
- Heating Failure: If the mirror has a defroster, the heating element may burn out, leaving it useless in icy conditions.
- Loose or Wobbly Glass: Clips or adhesive can wear out, causing the glass to rattle or misalign.
You’ll know it’s time to replace the glass if visibility is compromised, the mirror doesn’t adjust properly, or the heating function fails. For example, I worked on a 2018 Chevy Silverado where the driver-side mirror was so cloudy it was like looking through a frosted window. A quick glass swap fixed it in 20 minutes.
When and Why Replacement Is Needed
Replace the side mirror glass if it’s damaged, foggy, or non-functional. Delaying replacement can lead to unsafe driving conditions or a failed vehicle inspection in states like Texas or Pennsylvania, where mirror condition is checked. If the housing or motor is still intact, replacing just the glass is a cost-effective fix. However, if the housing is cracked or the motor is dead, you might need a full assembly replacement—more on that later.
Step-by-Step Guide: How to Remove Side Mirror Glass Without Breaking
Tools You’ll Need
Before you start, gather these tools:
- Flathead and Phillips screwdrivers
- Plastic pry tool or trim removal kit (to avoid scratching the housing)
- Gloves (to protect your hands from sharp edges)
- Heat gun or hairdryer (for adhesive-backed mirrors)
- Clean cloth and rubbing alcohol (for cleaning)
- Replacement mirror glass (OEM or aftermarket, vehicle-specific)
Pro tip: I keep a set of plastic pry tools in my toolbox—they’re a lifesaver for popping off trim without leaving scratches. You can grab a decent kit for about $10 at AutoZone or Amazon.
Step-by-Step Removal Process
Here’s how I remove side mirror glass, based on years of doing this in the shop:
Check the Mirror Type: Determine if your mirror is manual, power, or heated. Power mirrors may have wires to disconnect, while heated mirrors require extra care to avoid damaging the heating element. Check your vehicle’s manual or look up your model (e.g., 2020 Jeep Wrangler or 2017 Nissan Altima) to confirm.
Adjust the Mirror for Access: For power mirrors, use the adjustment switch to tilt the glass inward, exposing the outer edge. This gives you room to insert your pry tool. For manual mirrors, gently push the glass to one side.
Locate the Clips or Adhesive: Most side mirror glass is held by plastic clips or adhesive. Clips are common in vehicles like Honda or Toyota, while adhesive is more typical in European cars like BMW or Audi. Gently pry around the edges with a plastic tool to feel for clips or adhesive resistance.
Apply Heat (If Needed): If the glass is glued, use a heat gun or hairdryer on low to soften the adhesive. Hold it about 6 inches away and move it in circles for 30–60 seconds. I learned this the hard way on a 2014 VW Passat—too much heat can melt the plastic backing!
Pry Gently: Insert the plastic pry tool between the glass and housing, starting at the exposed edge. Work slowly around the perimeter, releasing clips or adhesive. If you hear cracking, stop and reassess—you might be forcing a clip. On a 2016 Ford Mustang, I once popped the glass out in under a minute because I knew exactly where the clips were.
Disconnect Wires (If Applicable): For heated or power mirrors, carefully disconnect the wiring harness from the back of the glass. Note the connector’s orientation for reassembly.
Clean the Housing: Once the glass is out, clean the housing with rubbing alcohol to remove old adhesive or debris. This ensures a secure fit for the new glass.
Common Mistakes to Avoid
- Prying Too Hard: Forcing the glass can crack it or damage the housing. Go slow and steady.
- Ignoring Wires: Yanking the glass without disconnecting wires can break the harness or heating element.
- Using Metal Tools: A metal screwdriver can scratch the housing or chip the glass. Stick to plastic tools.
- Not Checking Compatibility: Make sure the replacement glass matches your vehicle’s model and features (e.g., heated vs. non-heated).
OEM vs Aftermarket Side Mirror Glass: Which Is Better?
OEM Side Mirror Glass
What It Is: Original Equipment Manufacturer (OEM) glass is made by the same company that supplied your vehicle’s factory parts. For example, a Toyota Corolla’s OEM mirror glass might come from a supplier like Murakami or Magna.
Pros:
- Perfect fit and compatibility
- Matches factory quality (reflectivity, curvature, heating)
- Often includes a warranty (e.g., 1 year from Toyota or Ford)
Cons:
- Higher cost ($30–$60 for most models)
- Limited availability for older vehicles
- May need to be ordered through a dealership
Cost Example: OEM glass for a 2021 Honda Accord costs about $45 at a dealership.
Aftermarket Side Mirror Glass
Aftermarket glass is made by third-party companies like Dorman, TYC, or Burco. These are widely available online or at auto parts stores like O’Reilly or Advance Auto Parts.
Pros:
- Cheaper ($15–$40 for most models)
- Widely available, even for older vehicles
- Decent quality from reputable brands
Cons:
- Fitment may not be perfect (e.g., slightly loose clips)
- Reflective quality or heating performance can vary
- Risk of buying counterfeit or low-quality parts
Aftermarket glass for a 2019 Chevy Equinox costs around $20 on Amazon.
Comparison Table: OEM vs. Aftermarket Side Mirror Glass
| Feature | OEM | Aftermarket |
|---|---|---|
| Price | $30–$60 | $15–$40 |
| Fitment | Perfect | Good, but varies by brand |
| Quality | Factory-standard | Varies (high to low) |
| Availability | Dealerships, some online | Widely available |
| Warranty | 1–2 years (typically) | Varies (30 days to 1 year) |
| Recommended Brands | Toyota, Ford, GM, etc. | Dorman, TYC, Burco |
My Take
I usually recommend OEM for newer vehicles or if you want a perfect match, especially for heated or auto-dimming mirrors. For older cars or budget builds, aftermarket glass from a trusted brand like Burco is fine. I once installed a Dorman mirror glass on a 2010 Dodge Ram for a friend, and it’s held up perfectly for three years. Just avoid no-name brands from sketchy online sellers—they’re often flimsy and don’t last.
How to Identify Genuine vs. Fake Spare Parts
Counterfeit side mirror glass is a real issue, especially when shopping online. Here’s how to spot the real deal:
Check the Packaging: OEM parts come in branded boxes (e.g., Toyota or GM logos) with part numbers. Aftermarket parts from reputable brands like Dorman have professional packaging with barcodes and model compatibility listed.
Inspect the Glass: Genuine glass has clear, distortion-free reflection and precise curvature. Fakes may look wavy or have poor reflectivity.
Verify Part Numbers: Cross-check the part number with your vehicle’s manual or a trusted retailer like RockAuto. For example, a 2017 Ford F-150 driver-side mirror glass has a specific OEM part number (e.g., FL3Z-17K707-H).
Buy from Reputable Sources: Stick to dealerships, AutoZone, Advance Auto Parts, or verified online sellers. Avoid suspiciously cheap listings on eBay or Amazon Marketplace.
I once bought a “deal” on a mirror glass for a 2013 Subaru Outback, only to find it was a knockoff with no heating function. Lesson learned—always double-check the seller and part number.
Installation Tips and Maintenance Best Practices
Installing the New Side Mirror Glass
- Verify Compatibility: Ensure the new glass matches your vehicle’s make, model, year, and features (e.g., heated, blind-spot monitoring).
- Reconnect Wires: For power or heated mirrors, plug in the wiring harness before snapping the glass into place.
- Align and Snap In: Line up the glass with the clips or adhesive backing and press firmly until it clicks. For adhesive-backed mirrors, apply even pressure for 30 seconds.
- Test the Mirror: Adjust the mirror (manually or with the power switch) to confirm it moves correctly. For heated mirrors, turn on the defroster to check functionality.
- Clean the Glass: Use glass cleaner and a microfiber cloth to remove fingerprints or smudges.
Maintenance Tips
Clean Regularly: Use a non-abrasive glass cleaner to keep the mirror clear. Avoid ammonia-based cleaners, as they can damage the reflective coating.
Check for Loose Clips: If the mirror starts rattling, pop it off and inspect the clips or adhesive. Add a dab of automotive adhesive if needed.
Protect from Impact: Park carefully to avoid dings from poles or other cars. I’ve seen too many mirrors cracked in tight parking lots!
Safety Tips
- Wear gloves to avoid cuts from sharp edges.
- Work in a well-lit area to see clips or wires clearly.
- If using a heat gun, keep it on low to avoid melting plastic parts.
Real-World Anecdote: The Chevy Tahoe Mirror Mishap
A few years back, I was helping a buddy fix his 2016 Chevy Tahoe’s passenger-side mirror. The glass was cracked after a run-in with a mailbox. He was ready to buy a whole new assembly for $250, but I convinced him to replace just the glass for $30. We popped the old glass out with a plastic pry tool, but I forgot to disconnect the heating element wires first—nearly yanked them out! Luckily, we got the new Burco glass installed in 15 minutes, and it’s still going strong. Moral of the story: always check for wires before prying, and don’t overpay for a full assembly when the glass will do.
Conclusion: Smarter Side Mirror Glass Replacement
Replacing side mirror glass is a straightforward DIY job that can save you hundreds while keeping your vehicle safe and legal. By following the steps above, using the right tools, and choosing quality parts (OEM or trusted aftermarket), you can get the job done without breaking the glass—or your budget. Always double-check part compatibility, buy from reputable sources, and take your time to avoid damaging the housing or wires.
Common Side Mirror Glass Questions
How Do I Know If My Side Mirror Glass Is Heated?
Check your vehicle’s manual or look for a small grid-like pattern on the glass, which indicates a heating element. You can also turn on the rear defroster—if the mirror clears fog or ice, it’s heated. For example, most 2015–2020 Ford F-150s have heated mirrors on higher trims.
Can I Replace Just the Glass on a Power Mirror?
Yes, as long as the motor and housing are intact. Disconnect the wiring harness carefully, replace the glass, and reconnect. I’ve done this on a 2018 Toyota RAV4 with no issues.
How Much Does It Cost to Replace Side Mirror Glass?
OEM glass costs $30–$60, while aftermarket ranges from $15–$40. Labor at a shop can add $50–$150, but doing it yourself keeps costs low.
Will Aftermarket Mirror Glass Work as Well as OEM?
Reputable aftermarket brands like Dorman or Burco are nearly as good as OEM for most vehicles, though fitment and features (like heating) may vary slightly. Stick to trusted brands to avoid issues.
What If I Break the Mirror Housing During Removal?
If you crack the housing, you’ll need to replace the entire assembly. Housings typically cost $50–$200, depending on the vehicle. To avoid this, use plastic pry tools and work slowly.
