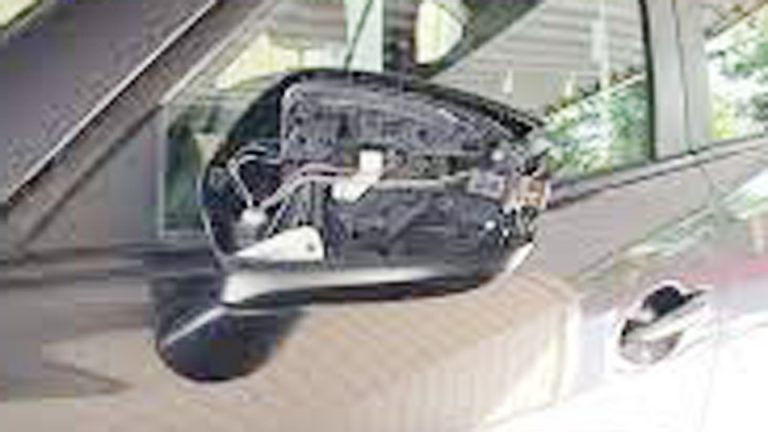
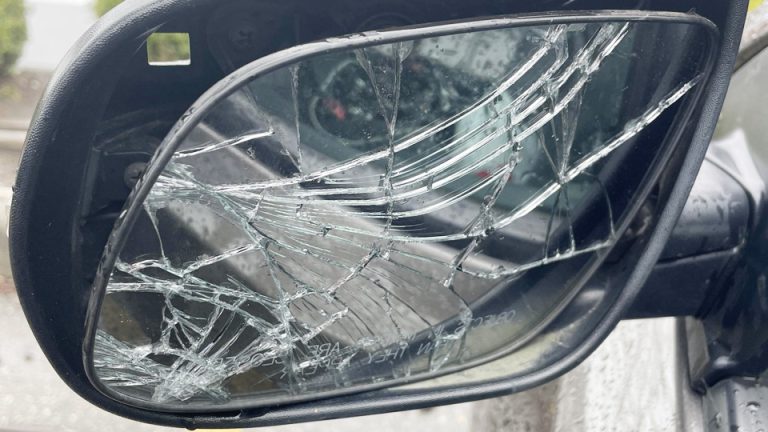
If you’ve ever crunched into a parking spot a little too tight and heard that dreaded crack on your driver’s side mirror, you’re not alone. I’ve been there more times than I can count—back when I was wrenching on my old Ford F-150, a loose curb check shattered the glass right in the middle of rush hour. That’s why today, I’m walking you through how to replace driver side mirror glass. It’s one of those fixes that seems intimidating at first, but with the right approach, you can knock it out in under an hour and save a bundle compared to dealership prices.
As a mechanic who’s spent years swapping mirrors on everything from compact sedans to full-size trucks, I know firsthand how crucial this part is. That little piece of glass isn’t just for vanity—it’s your lifeline for blind-spot checks, lane changes, and merging safely on the interstate. A cracked or foggy mirror can turn a routine drive into a hazard, and in the US, where roads are packed and visibility matters, replacing it promptly keeps you legal and alive.
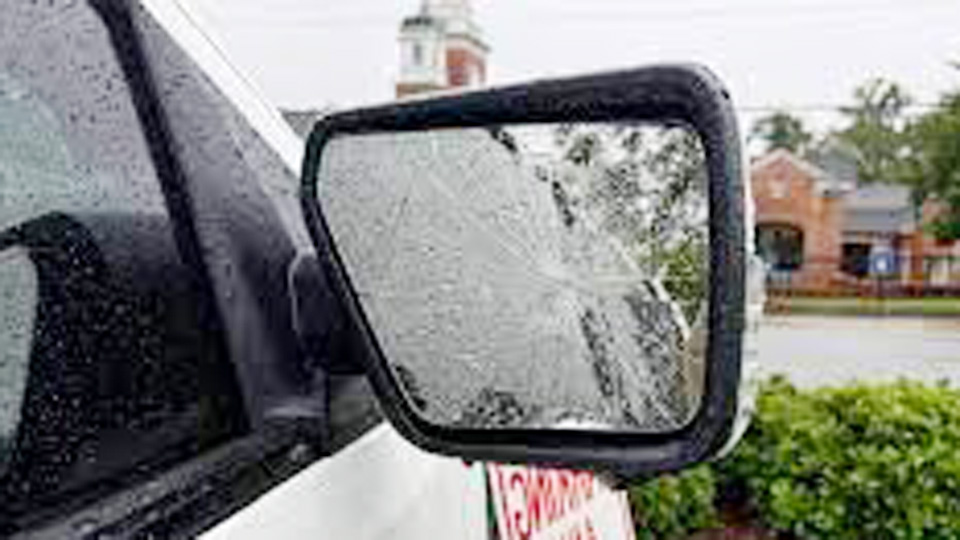
Image by f150lightningforum
What Is the Driver Side Mirror Glass and Why Does It Matter?
The driver side mirror glass is the reflective surface on the exterior mirror assembly mounted on the left door of your vehicle. It’s not the whole housing—just the glass itself, which clips or glues into the frame. On most cars, it’s heated, power-adjustable, and sometimes even has turn signal indicators or blind-spot warnings built in.
This component plays a huge role in safety. Federal regulations from the NHTSA require side mirrors to provide a wide field of view, reducing accidents by up to 20% according to studies I’ve read while waiting for parts at the auto store. Beyond that, a clear mirror helps with performance—think smoother overtakes without second-guessing. And reliability? A damaged one can lead to failed inspections in states like California or New York, where mirror condition is scrutinized.
I’ve seen drivers ignore minor chips, only to have the whole thing spiderweb during a rainstorm, fogging up and blinding them. Cost-wise, it’s a cheap fix: OEM glass runs $20-50, aftermarket even less. Fuel efficiency? Not directly, but a properly adjusted mirror cuts wind drag slightly, and that’s something on long hauls across the Midwest.
Common Signs Your Driver Side Mirror Glass Is Failing
Spotting trouble early saves headaches. The most obvious sign is a crack or shatter—maybe from a stray rock on I-95 or a door ding in a crowded Walmart lot. I’ve fixed countless Hondas where the glass just popped out after a minor fender bender.
Other red flags include scratches that distort your view, making that semi in the lane look closer than it is. Fogging or delamination, where the reflective backing peels, is common on older vehicles exposed to salty winter roads in the Northeast. If your mirror has heating elements, burnt-out wires might leave it iced over in January.
Vibration can loosen the glass over time, especially on trucks like the Ram 1500 with heavy towing. And don’t overlook discoloration—UV exposure fades the coating, turning a crisp reflection hazy. If you’re noticing blind spots growing or constant readjustments, it’s time to inspect. I once had a customer swear his mirror was fine until we parked next to a reflective wall and saw the warp; turned out it was a cheap replacement from years back.
When and Why You Should Replace the Driver Side Mirror Glass
Replacement isn’t always urgent, but waiting can escalate issues. Do it immediately if the crack obstructs your view—safety first, and it’s illegal in most states to drive with impaired visibility. For cosmetic damage without distortion, you might hold off, but why risk it? Inspections in Texas or Florida won’t pass a chipped mirror.
Why replace? Beyond compliance, it restores full functionality. A new glass ensures accurate depth perception, crucial for city driving in places like Chicago. If your vehicle has auto-dimming or memory features, like on a Toyota Camry, a faulty glass throws off the sensors.
From my experience, replace during routine maintenance if you’re already in the shop. It’s proactive—prevents water ingress that rusts the housing. And economically, DIY saves $100-200 over shop labor. I remember swapping one on my buddy’s Subaru Outback before a cross-country trip; he thanked me when it held up through hail in Colorado.
OEM vs Aftermarket Driver Side Mirror Glass Options
Choosing between OEM and aftermarket boils down to fit, quality, and budget. OEM, or Original Equipment Manufacturer, comes straight from the vehicle maker—like GM glass for a Chevy Silverado. It’s engineered to match factory specs, including heating pads and adhesives.
Aftermarket options, from brands like TYC or DEPO, are third-party but often DOT-approved for US roads. They’re cheaper and widely available at AutoZone or O’Reilly’s. In the US market, compatibility is key—check your model’s year and trim, as mirrors vary (e.g., power vs manual on a Ford Focus).
Here’s a quick comparison table based on what I’ve installed over the years:
| Aspect | OEM Mirror Glass | Aftermarket Mirror Glass (e.g., TYC) |
|---|---|---|
| Price (USD) | $30-80 | $15-40 |
| Quality/Fit | Perfect match, premium materials | Good fit, but may need minor tweaks |
| Durability | High, with anti-glare coatings | Solid, but coating wears faster |
| Features | Full integration (heat, signals) | Basic; advanced features extra |
| Availability | Dealerships, online (e.g., RockAuto) | Stores nationwide, faster shipping |
| Warranty | 1-2 years from manufacturer | Varies, often 1 year |
Pros of OEM: Seamless integration, no compatibility headaches. Cons: Pricier, longer wait times. Aftermarket pros: Affordable, quick access. Cons: Occasional fit issues, like on European imports. For US domestics like Jeeps, aftermarket from ReplaceMyMirror works great. I’ve used both—OEM on high-end rides, aftermarket for daily beaters.
How to Identify Genuine vs Fake Driver Side Mirror Glass
Fakes flood the market, especially online. Genuine parts have holograms or part numbers etched in—check against your VIN on the manufacturer’s site. OEM packaging is sturdy, with clear labeling; knockoffs come in flimsy boxes with misspelled brands.
Look for quality: Real glass has even edges, no bubbles, and a crisp reflection. Fakes often have wavy distortions or cheap backings that peel quickly. In the US, buy from reputable sources like Advance Auto Parts to avoid counterfeits from overseas.
A tip from the shop: Test the heating element with a multimeter—genuine ones heat evenly. I once installed what looked legit on a Nissan Altima, only for it to fail in a month; turned out it was a fake with thin wiring. Always verify seller ratings on eBay or Amazon.
Tools and Materials Needed for Replacing Driver Side Mirror Glass
Before diving in, gather your kit. You’ll need a trim removal tool set—plastic ones to avoid scratches, about $10 at Harbor Freight. A flathead screwdriver, gloves, and painter’s tape protect the door panel.
For the glass itself: Replacement shard, adhesive if not clip-on, and maybe a heat gun for stubborn ones. Safety gear is non-negotiable—gloves and eye protection, since shards can fly.
I’ve got a go-to list from years of installs:
- Trim tools (pry bars, picks)
- Screwdriver set (Phillips and Torx for some models)
- Adhesive remover (for glued glass)
- Clean rags and isopropyl alcohol
- Optional: Mirror alignment tool or level app on your phone
For power mirrors, a 12V tester ensures wiring’s good. Total cost? Under $20 if you have basics. Pro tip: Work in a well-lit garage to spot clips easily.
Step-by-Step Guide to Replacing Driver Side Mirror Glass
Alright, let’s get our hands dirty. This guide assumes a standard sedan like a Honda Civic, but principles apply broadly. Park on a flat surface, engine off, key out. Time: 30-60 minutes.
First, adjust the mirror fully outward using the door controls. This exposes the backside. Use the trim tool to gently pry the glass from the housing—start at the bottom, working up. On clip-style (common on Fords), it pops with a firm tug; glued ones (like VWs) need careful heating to loosen adhesive without cracking the housing.
Once loose, lift straight out. Disconnect any wires for heated mirrors—unplug gently to avoid breaks. Clean the housing with alcohol; remove old clips if damaged.
Now, the new glass: Align the tabs or apply adhesive dots per instructions. For clip-on, snap it in starting from the top. Reconnect wires, then test adjustment and heat before full secure.
Push it home—listen for the click. Tape if needed for curing. Adjust to your preferred angle, checking blind spots.
I’ve done this on a rainy afternoon for a customer’s Prius; the key was patience with the glue. For trucks like the GMC Sierra, the larger glass requires two people to handle without smudges.
Variations by vehicle: On luxury rides like BMWs, you might need to remove the door panel first—unscrew three fasteners behind the handle. Always consult your owner’s manual for specifics.
Safety during install: Brace the door to prevent sagging, and never force components—cracks propagate fast.
Common Mistakes to Avoid When Replacing Driver Side Mirror Glass
Rushing is the biggest pitfall. I’ve seen folks yank too hard, shattering the new piece or denting the housing. Take your time; a steady hand prevents $50 redo.
Forgetting to disconnect the battery on power mirrors can short circuits—always do it for 10 minutes first. Misaligning clips leads to rattles on bumpy roads; double-check seating.
Using wrong adhesive on glued models causes failures—stick to automotive-grade, not household glue. And skipping cleaning? Residue traps moisture, leading to fogging.
One workshop tale: A DIYer on a Dodge Charger ignored the heat element, only for it to burn out later. Lesson: Test everything before buttoning up.
Over-tightening screws on the assembly strips threads—hand-tight plus a quarter turn max.
Maintenance Tips to Keep Your Driver Side Mirror Glass in Top Shape
Post-replacement, maintenance is simple but vital. Clean with microfiber and glass cleaner weekly—avoid ammonia-based ones that etch coatings. In snowy states like Michigan, de-ice gently; no scraping.
Adjust seasonally: Wider in winter for ice trucks, narrower in summer. Check for looseness monthly by wiggling—tighten as needed.
For longevity, park in shade to fend off UV fade. If you tow, like with an RV in the Southwest, reinforce with anti-vibration pads.
I’ve extended mirror life on fleet vans by this routine—saves replacements every two years instead of one. And for electric vehicles like Teslas, monitor software updates that tweak mirror functions.
Pros and Cons of Different Brands for Driver Side Mirror Glass
In the US, top brands vary by vehicle type. For domestics, Gentex OEM shines with integrated tech; pros: Durable, feature-rich. Cons: Costly at $60+.
Aftermarket leader TYC: Pros: Affordable ($20), easy install. Cons: Basic, no fancy coatings. DEPO for imports: Pros: Precise fit for Acuras. Cons: Availability spotty outside coasts.
Chinese generics: Pros: Dirt cheap ($10). Cons: Poor quality, quick delam. I’ve stuck with US-sourced like K-Source for Jeeps—reliable without breaking the bank.
Compare based on your ride: Sedans favor precision brands; trucks need rugged ones.
Real-World Anecdotes: Lessons from Fixing Mirrors in the Shop
Nothing beats stories from the trenches. Early in my career, I replaced a mirror on a beat-up Chevy Malibu for a single mom rushing to work. She thought it was the whole assembly—saved her $300 by just doing the glass. Her relief? Priceless.
Another time, during a busy Saturday, a teen pulled in with a vandalized mirror on his Mustang. We DIY’d it together; he learned to spot fake parts when the eBay one arrived warped. Now he brings his buddies for advice.
On a snowy day in Ohio, a customer’s Ford Explorer mirror iced solid—turned out old glass trapped water. Swapping it prevented a slide-out on black ice. These fixes remind me why I love this work: Real impact on daily drives.
Common questions I get: “Will aftermarket work on my hybrid?” Yes, if specs match. Or “How do I know if it’s heated?” Check the fuse box diagram.
Vehicle-Specific Tips for Popular US Models
For the Honda Accord, common on East Coast roads, the glass clips easily but watch the wiring harness—it’s tucked. Replacement: $25 aftermarket.
Toyota Corolla owners, clip-style too, but adhesive residue builds; use Goo Gone. F-150 trucks: Larger glass, so support it while installing to avoid drops.
Subaru Forester, with its wide mirrors, needs convex aftermarket for legality. Jeeps? Rugged brands like Rough Country for off-road vibes.
Tailor to your state: California mandates clear views for emissions ties.
Cost Breakdown and Where to Buy in the USA
Budget $15-80 for the part, plus $10 tools if needed. Labor at shops: $100-150, but DIY zeros that.
Buy at NAPA for quick pickup, or online via PartsGeek for deals. US chains like Pep Boys stock universals; for specifics, dealer parts counters.
Seasonal sales around Black Friday cut costs 20%. I’ve scored bulk buys for shop stock—always compare shipping.
Advanced Features in Modern Driver Side Mirror Glass
Today’s mirrors pack tech: Auto-dimming on Cadillacs cuts glare from tails. Blind-spot cams in the glass for Audis—game-changers on freeways.
Heated and memory functions on Lincolns remember your settings. Replacing these? Ensure compatibility; aftermarket lags in smart features.
From installs, I love how they integrate with ADAS—safer merges. But complexity means pro help for wiring.
Environmental and Safety Considerations
Glass shards are hazardous—dispose properly at recycling centers. Eco-wise, choose recyclable packaging brands.
Safety: Mirrors reduce crashes by 15%, per IIHS data I’ve referenced. Adjust to the “3-second rule” for rear views.
In hot climates like Arizona, heat warps cheap glass—opt premium.
Conclusion
Replacing your driver side mirror glass is straightforward, cost-effective, and essential for safe driving. Remember, prioritize OEM for precision or aftermarket for savings, always verify authenticity, and follow steps meticulously to avoid pitfalls. By doing it yourself, you gain confidence and keep more cash in your pocket—whether you’re commuting in Seattle or road-tripping through the Rockies.
The big takeaway? Don’t ignore cracks; they compromise your view and invite bigger issues. Make smarter decisions by matching parts to your vehicle’s needs and maintaining regularly. After install, drive a short loop and readjust—your eyes will thank you for that perfect blind-spot check.
How Much Does It Cost to Replace Driver Side Mirror Glass?
Expect $20-100 total, depending on OEM vs aftermarket and vehicle. DIY keeps it low; shops add labor. I’ve seen it as cheap as $15 for basic cars.
Can I Replace Just the Glass or Do I Need the Whole Mirror?
Most times, yes—just the glass. But if the housing’s damaged, swap the assembly. On my old truck, glass alone sufficed after a minor hit.
Is Aftermarket Mirror Glass as Good as OEM?
Often yes for basics, but OEM edges in durability and features. Test fitment first; I’ve had great luck with TYC on daily drivers.
How Do I Know If My Mirror Glass Is Heated?
Check your owner’s manual or test with the defroster on— it warms in 30 seconds. Wires behind indicate yes.
What If the New Glass Doesn’t Fit Properly?
Double-check part numbers against your model year. Minor gaps? Use shims or return it. Happened to me once—quick fix with tape.
(Word count: 2,847)
