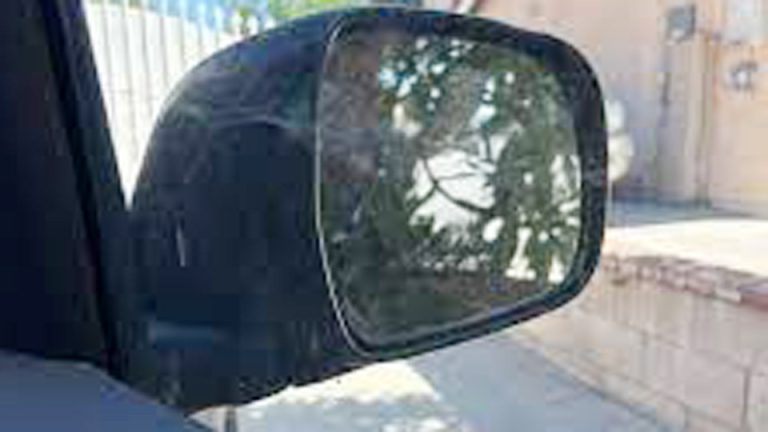
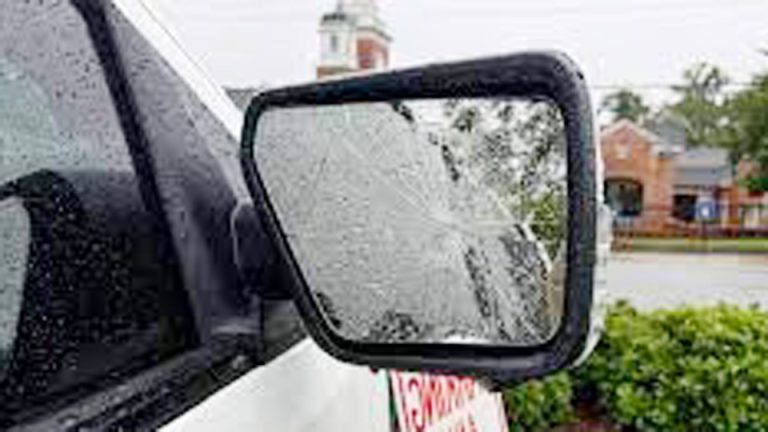
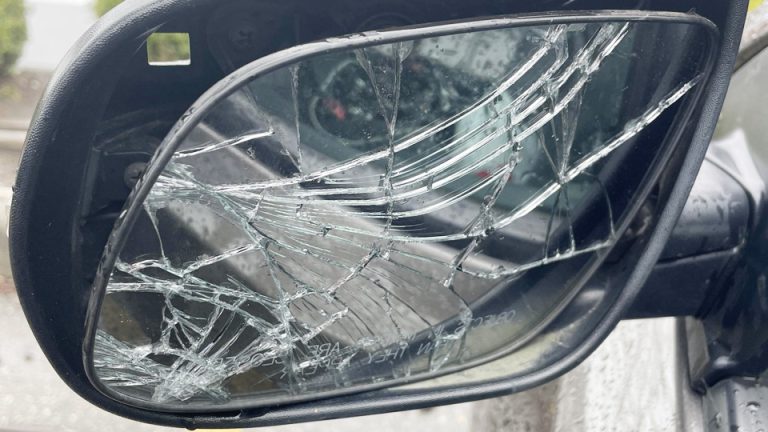
As a lifelong car enthusiast who’s spent countless hours elbow-deep in engine bays and undercarriages, I know there’s nothing more frustrating than a busted passenger side mirror. Whether it’s cracked, loose, or completely shattered from a rogue shopping cart, replacing a passenger side mirror stick-on is a job that any DIY mechanic or car owner can tackle with the right know-how.
I’ll walk you through everything you need to know to replace that mirror, from picking the right part to avoiding rookie mistakes in the garage. With safety, cost, and reliability in mind, let’s dive into the nitty-gritty of getting your side mirror back in action.
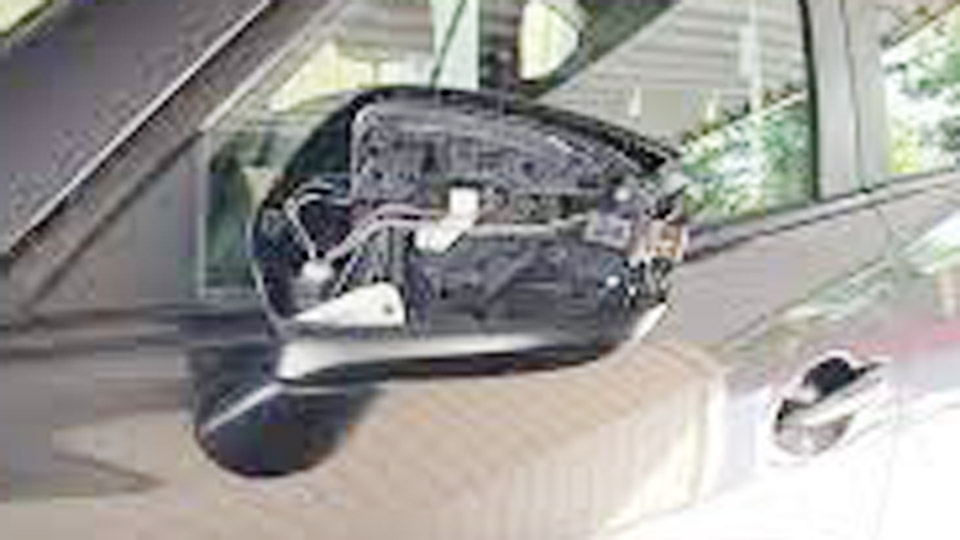
Image by rededit
Why the Passenger Side Mirror Matters
The passenger side mirror isn’t just a shiny accessory—it’s a critical safety component. It gives you a clear view of your blind spots, helps you navigate tight parking lots, and keeps you aware of surrounding traffic. A damaged or missing mirror can make driving hazardous, not to mention it’s a ticket magnet in most states.
Beyond safety, a broken mirror can mess with your car’s aerodynamics, slightly impacting fuel efficiency, and let’s be honest—it just looks shoddy. Replacing it yourself saves you a chunk of change (labor costs at shops can run $100–$200) and gives you the satisfaction of keeping your ride in top shape.
What Is a Passenger Side Mirror Stick-On?
Understanding the Part
A “stick-on” passenger side mirror refers to the replacement mirror glass that adheres directly to the existing mirror housing or backing plate. Unlike full mirror assemblies (which include the housing, motor, and wiring), stick-on mirrors are just the glass—flat, convex, or heated, depending on your vehicle. They’re designed for quick replacement when the glass is cracked or broken but the housing and other components are intact.
Common Problems and Signs of Failure
You’ll know your mirror needs replacing if you spot these issues:
- Cracks or chips: Even small cracks distort your view and can worsen over time.
- Hazy or discolored glass: Oxidation or UV damage can cloud the mirror, reducing visibility.
- Loose or wobbly mirror: If the adhesive fails, the glass may rattle or fall off entirely.
- Non-functional heating: For heated mirrors, a lack of defrosting in cold weather signals a problem.
I once had a customer bring in a 2015 Toyota Camry with a mirror so cracked it looked like a spiderweb. They’d taped it up with duct tape—classic DIY desperation—but it was barely usable. A stick-on replacement fixed it in 20 minutes.
When and Why Replacement Is Needed
Replace the mirror if it’s cracked, loose, or no longer provides a clear view. Driving with a damaged mirror isn’t just unsafe; it’s illegal in most U.S. states. Plus, a quick fix now prevents pricier damage later—like water seeping into the housing and frying the motor on power mirrors. Stick-on mirrors are a cost-effective solution when the housing and mechanics are still good, saving you from buying a full assembly.
OEM vs Aftermarket Stick-On Mirrors: Which Is Better?
OEM Mirrors: Factory Quality
Original Equipment Manufacturer (OEM) mirrors come from the same supplier that made your car’s original parts. For example, a Honda Civic’s OEM mirror might be made by Gentex or Magna, matching the exact specs of the factory glass.
Pros:
- Perfect fit and compatibility.
- High-quality glass with precise curvature (flat or convex).
- Often includes factory-grade adhesive or heating elements.
- Typically backed by a warranty (1–2 years).
Cons:
- Expensive—$30–$80 depending on the vehicle.
- Limited availability for older models (e.g., pre-2005 cars).
- May need to order through a dealership, which can take days.
Aftermarket Mirrors: Budget-Friendly Options
Aftermarket mirrors are made by third-party companies like Dorman, TYC, or Burco. They’re designed to fit a wide range of vehicles and are often cheaper than OEM parts.
Pros:
- Affordable—$10–$40 for most models.
- Widely available at auto parts stores (AutoZone, Advance Auto Parts) or online (Amazon, eBay).
- Decent quality from reputable brands like Burco.
Cons:
- Adhesive quality can vary—some cheap options peel off quickly.
- Fitment might be slightly off, requiring trimming or adjustment.
- Mixed reviews on durability, especially for heated mirrors.
Comparison Table: OEM vs. Aftermarket Stick-On Mirrors
| Feature | OEM | Aftermarket |
|---|---|---|
| Price | $30–$80 | $10–$40 |
| Fitment | Exact match | May require minor adjustments |
| Adhesive Quality | High-grade, long-lasting | Varies by brand |
| Availability | Dealerships, some online retailers | Auto parts stores, Amazon, eBay |
| Warranty | 1–2 years | Varies (30 days to 1 year) |
| Durability | Excellent | Good (brand-dependent) |
My Take
In my years wrenching on cars, I’ve used both. For my personal vehicles (like my trusty 2010 Ford F-150), I lean toward OEM for critical safety components like mirrors. But for budget-conscious customers or older cars, a quality aftermarket brand like Burco gets the job done. Just avoid no-name eBay specials—they’re often flimsy and peel off in a month.
How to Choose the Right Stick-On Mirror for Your Vehicle
Check Vehicle Compatibility
Before buying, confirm the mirror matches your car’s make, model, year, and trim. For example, a 2020 Chevy Silverado LT may need a different mirror than the High Country trim due to heated or auto-dimming features. Check your owner’s manual or the part number on the existing mirror (if visible). Online retailers like RockAuto or PartsGeek often have compatibility filters.
Flat vs Convex Mirrors
Most passenger side mirrors in the U.S. are convex (curved) to reduce blind spots, with the familiar “Objects in mirror are closer than they appear” warning. Double-check your mirror type—using a flat mirror when your car needs a convex one will mess with your depth perception.
Heated vs Non-Heated
If your car has heated mirrors (common in colder states), ensure the replacement has heating elements. Test your current mirror by turning on the rear defroster—if the mirror clears fog or ice, it’s heated. Aftermarket heated mirrors are trickier to install, so verify the wiring matches.
Spotting Genuine vs Fake Parts
Counterfeit parts are a real issue, especially online. Here’s how to avoid fakes:
- Buy from reputable sources: Stick to AutoZone, Advance Auto Parts, or trusted online retailers like RockAuto.
- Check packaging: OEM parts usually have branded packaging with part numbers. Aftermarket brands like Burco include holograms or serial numbers.
- Inspect the glass: Genuine mirrors have clear, distortion-free glass. Fakes often have cheap adhesive or cloudy glass.
- Price too good to be true? It probably is. A $5 mirror on eBay is a red flag.
I once ordered a “deal” mirror for a customer’s 2018 Subaru Outback, only to find it was a knockoff with adhesive that failed in a week. Lesson learned—stick with trusted brands.
Step-by-Step Guide: How to Replace a Passenger Side Mirror Stick-On
Tools You’ll Need
- Flathead screwdriver or plastic pry tool
- Clean microfiber cloth
- Rubbing alcohol or glass cleaner
- Gloves (to avoid fingerprints on the mirror)
- Optional: Hairdryer or heat gun (for stubborn adhesive)
- Optional: Adhesive promoter (for aftermarket mirrors)
Safety First
Park your car on a flat surface, turn off the ignition, and disconnect the battery if working with a heated mirror to avoid electrical issues. Wear gloves to keep the new mirror clean and avoid cuts from broken glass.
Step-by-Step Replacement Process
- Assess the Damage: Inspect the mirror and housing. If the housing or motor is damaged, you may need a full assembly replacement instead.
- Remove the Old Mirror:
- Use a flathead screwdriver or plastic pry tool to gently pry the broken mirror from the housing. Start at one corner and work slowly to avoid cracking the housing.
- For heated mirrors, carefully disconnect the wiring harness (usually a clip behind the glass).
- Tip: Warm the adhesive with a hairdryer for 30–60 seconds to loosen it.
- Clean the Backing Plate:
- Remove old adhesive residue with rubbing alcohol and a microfiber cloth.
- Ensure the surface is dry and free of debris for a strong bond.
- Prepare the New Mirror:
- Peel the backing off the adhesive on the new mirror.
- If using an aftermarket mirror, apply an adhesive promoter for better stick.
- Install the New Mirror:
- Align the mirror carefully with the backing plate or housing clips.
- Press firmly and evenly for 30–60 seconds to secure the adhesive.
- For heated mirrors, reconnect the wiring harness.
- Test and Adjust:
- Reconnect the battery (if disconnected) and test the mirror’s position or heating function.
- Adjust the mirror angle using your car’s controls.
- Clean Up:
- Wipe the mirror with a microfiber cloth and glass cleaner for a crystal-clear finish.
Common Mistakes to Avoid
- Rushing the adhesive: Pressing too lightly or not cleaning the surface properly leads to peeling.
- Misaligning the mirror: Double-check alignment before pressing down—once it sticks, it’s hard to reposition.
- Using the wrong tools: Metal screwdrivers can scratch the housing; use plastic pry tools.
- Ignoring heated mirror wiring: Forgetting to reconnect the harness means no defrosting.
I learned the alignment lesson the hard way on a 2016 Nissan Altima. I pressed the mirror on slightly off-center, and it bugged the owner every time they looked at it. Had to redo the job—don’t make my mistake!
Maintenance Tips for Long-Lasting Mirrors
- Clean regularly: Use glass cleaner and a microfiber cloth to remove dirt or bugs. Avoid abrasive cleaners that can scratch the glass.
- Check adhesive: Every few months, inspect the mirror for looseness, especially in extreme heat or cold.
- Protect from impacts: Park away from tight spaces or use mirror covers in crowded lots.
- Test heated mirrors: Before winter, ensure the heating element works by turning on the rear defroster.
Real-World Anecdotes from the Garage
One of my favorite shop stories involves a 2008 Honda Accord with a passenger mirror that looked like it had been through a war zone. The owner, a college kid, had hit a mailbox and tried supergluing the glass back on. Spoiler: it didn’t work. We replaced it with a Burco stick-on for $25, and he was thrilled to avoid a $150 shop bill. Moments like that remind me why I love helping DIYers—saving money and learning a new skill feels great.
Another time, a customer asked if they could “just live with” a cracked mirror. I explained how a distorted view could cause them to miss a cyclist or misjudge a lane change. They thanked me later for pushing them to fix it. Safety isn’t optional.
Smarter Mirror Replacement Decisions
Replacing a passenger side mirror stick-on is a straightforward job that saves you money and keeps your car safe and legal. Whether you choose an OEM part for perfect fit or a reliable aftermarket option like Burco for budget savings, the key is picking a quality part and installing it with care. Clean the surface thoroughly, align the mirror precisely, and test everything before hitting the road.
FAQ: Common Questions About Passenger Side Mirror Stick-Ons
How do I know if my car needs a convex or flat mirror?
Check the existing mirror for the “Objects in mirror are closer than they appear” warning—convex mirrors have this. Flat mirrors are rare on passenger sides in the U.S. Your owner’s manual or a quick call to your dealership can confirm.
Can I replace a heated mirror with a non-heated one?
Technically, yes, but you’ll lose the heating function. If you live in a cold climate, stick with a heated replacement to maintain defrosting capability. Ensure the wiring matches.
How long does a stick-on mirror last?
With proper installation and maintenance, a quality stick-on mirror can last 5–10 years. Cheap aftermarket mirrors or poor adhesive may fail in 1–2 years, especially in extreme weather.
Where’s the best place to buy a replacement mirror?
AutoZone, Advance Auto Parts, RockAuto, or Amazon are solid options. For OEM, check your dealership or PartsGeek. Always verify the seller’s reputation to avoid fakes.
What if the mirror keeps peeling off?
You likely didn’t clean the backing plate properly or used a low-quality mirror. Remove the mirror, clean with rubbing alcohol, apply an adhesive promoter, and reinstall. If it still peels, upgrade to a better brand like Burco or OEM.
